
Clean the visible grime first, then disinfect. That sequence matters more than which product you pick. For most bathrooms, a paste of 3% hydrogen peroxide and baking soda handles light-to-moderate buildup, while an EPA-registered disinfectant with the correct contact time is what you need when mold or illness is involved. Neatandtidypros sees grout neglected in nearly every bathroom deep clean, and the fix is almost always the same: people scrub too fast and skip the dwell time.
Here’s the immediate action plan:
- Remove loose debris with a dry brush or vacuum.
- Apply your chosen cleaner and let it sit (3–15 minutes depending on product strength).
- Scrub along grout lines with a stiff grout brush.
- Rinse thoroughly with clean water.
- Dry with a squeegee or microfiber towel and run the exhaust fan.
Safety first: Open a window or run the fan before you start. Wear chemical-resistant gloves and eye protection. Never mix bleach with vinegar, ammonia, or any other cleaner.
Pro Tip: Many disinfectants require 3–5 minutes of wet contact time on the surface to actually kill pathogens. Spraying and wiping immediately does nothing for disinfection.
Key Takeaways
Disinfecting bathroom tile grout requires cleaning the surface first, then applying an EPA-registered disinfectant or a 3% hydrogen peroxide paste with a full 10–15 minute dwell time before scrubbing.
| Point | Details |
|---|---|
| Clean before you disinfect | Biofilm blocks disinfectants; remove soil first or the kill claim won’t hold. |
| Dwell time drives results | Let cleaners sit 5–15 minutes depending on strength; scrubbing too soon wastes the product. |
| Match method to stain type | Baking soda paste for light stains, hydrogen peroxide paste for stubborn ones, bleach only for serious mold on colorfast surfaces. |
| Reseal on schedule | Test with a water-bead drop; reseal every 12–18 months in wet areas to block future staining. |
| Neatandtidypros for recurring mold | Persistent mold after cleaning signals a moisture problem; professional deep cleaning and inspection is the right next step. |
Table of Contents
- What tools and cleaners do you need for grout cleaning?
- How do you tell what’s staining your grout?
- Step-by-step methods from light maintenance to heavy-duty treatment
- What’s the difference between cleaning and disinfecting grout?
- How long should you let cleaners sit, and how do you scrub correctly?
- How to rinse, dry, and reseal grout after cleaning
- Common mistakes and safety rules that protect you and your tile
- When should you call a professional cleaner or contractor?
- A professional cleaner’s perspective on grout care
- Neatandtidypros handles what DIY can’t reach
- Sources
What tools and cleaners do you need for grout cleaning?
Brushes and equipment
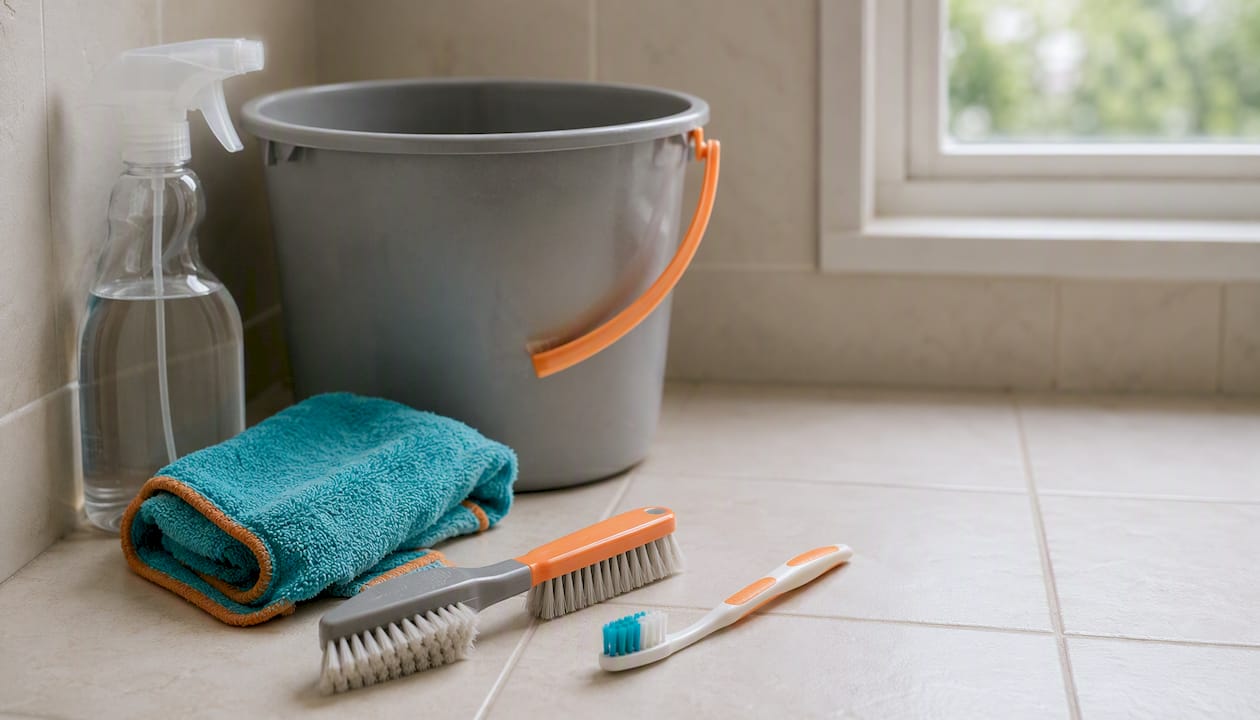
A dedicated grout brush is worth the $5 it costs. The angled bristles reach into grout channels where a flat scrub pad cannot. A medium-stiffness toothbrush works for tight corners. Beyond that: a spray bottle, a bucket, microfiber towels, and a squeegee cover the basics.
A canister steam cleaner with a detail nozzle is the upgrade that changes the job. Models from McCulloch and similar home-use brands push superheated steam into grout pores without any chemicals, making them ideal for households with kids, pets, or sensitivity to cleaning products. Steam cleaning with distilled water and a small-detail nozzle safely penetrates grout and loosens grime without chemical residue.
Cleaners to stock
- Baking soda (Arm & Hammer or any store brand): the mild abrasive base for DIY pastes
- 3% hydrogen peroxide (generic drugstore bottle): pairs with baking soda for a brightening paste and doubles as a mild disinfectant
- Dish soap: for everyday warm-water scrubs
- pH-neutral tile cleaner: the safe choice for natural stone surfaces
- Zep Grout Cleaner & Brightener: a professional-strength option for heavy staining
- Tilex Mold & Mildew Remover or Clorox Clean-Up Cleaner + Bleach: for serious mold, where the tile and grout are colorfast
PPE
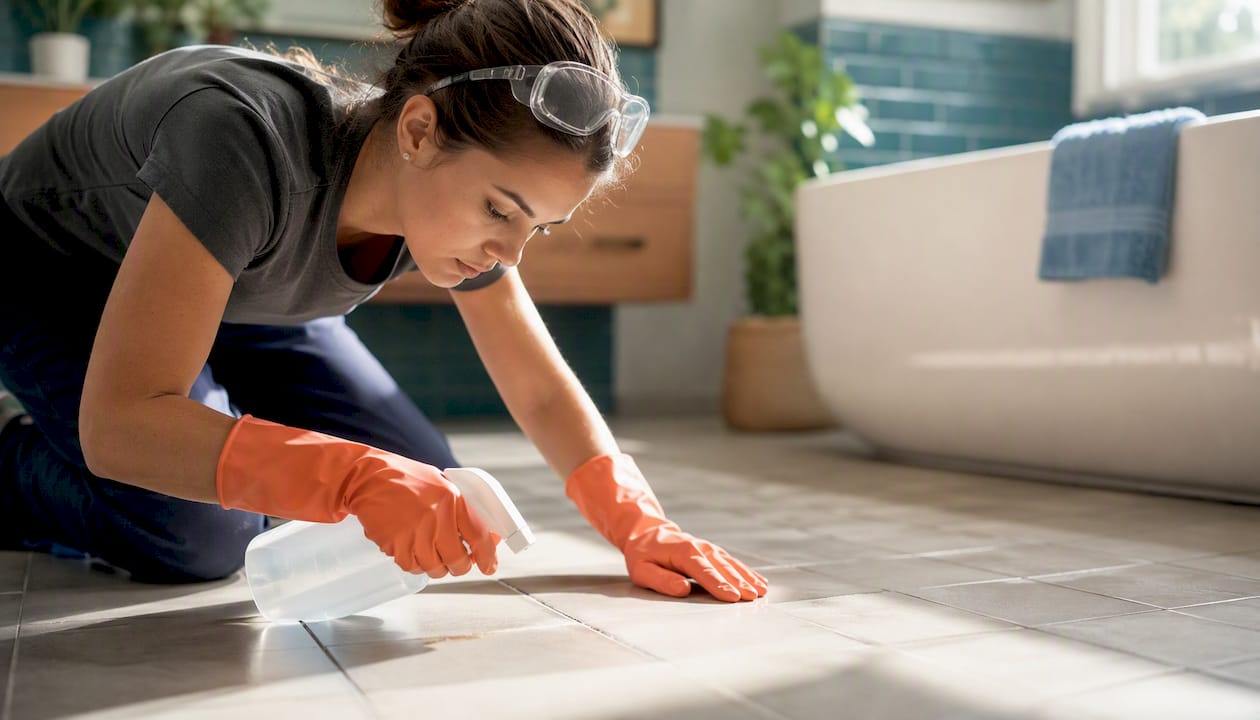
Chemical-resistant gloves and safety glasses are non-negotiable when using bleach or commercial mold removers. If your bathroom has poor ventilation and you’re using a strong disinfectant, add an N95 respirator. A small, unventilated shower stall concentrates fumes faster than most people expect.
Pro Tip: If you’re choosing between products, look for EPA Safer Choice labels. Consumer Reports recommends testing cleaners at home on a small patch and following label directions — performance varies more than the packaging suggests.
How do you tell what’s staining your grout?
Getting the diagnosis right saves you from using the wrong product and damaging your tile. Here’s how to read what you’re looking at:
- Black or dark green patches with a musty smell: mold or mildew, most common in shower corners and floor grout
- White or gray haze, chalky texture: mineral deposits or hard water scale, especially around faucets and drain edges
- Pink or orange film: soap scum mixed with bacteria, common in shower walls
- Yellow-brown staining: rust from metal fixtures or iron in the water supply
- Uniform darkening across all grout lines: long-term dirt absorption, often a sign the grout sealer has worn off
For a quick patch test: dab a small amount of baking soda paste on the stain and wait five minutes. If it lifts, you’re dealing with organic soil. If it does nothing, mineral deposits or rust are more likely, and you’ll need a targeted mineral remover.
Tile material matters as much as stain type. Acids — including vinegar, lemon juice, and citrus-based cleaners — etch natural stone like marble, travertine, and limestone. Use only pH-neutral cleaners on those surfaces. Glazed porcelain and ceramic tile tolerate a wider range of products, but tile experts warn that even on ceramic, acidic cleaners can weaken grout over time.
If the grout is crumbling, gapping, or the staining goes all the way through (not just surface-level), that’s past the cleaning stage. Regrouting or a professional inspection is the right call.
Step-by-step methods from light maintenance to heavy-duty treatment
Work from mild to strong. Start with the gentlest method that fits your diagnosis and escalate only if needed.
Method 1: Everyday warm-water clean
- Mix a few drops of dish soap into warm water in a spray bottle.
- Spray grout lines and let sit for 2–3 minutes.
- Scrub with a grout brush using short strokes along the line.
- Rinse with clean water and dry.
Use this weekly to prevent buildup. It won’t disinfect, but it removes the biofilm that lets mold take hold.
Method 2: Baking soda paste (light stains)
Mix baking soda with just enough water to form a thick paste. Apply directly to grout lines, let sit for 5–10 minutes, then scrub and rinse. Good for surface discoloration and mild soap scum.
Method 3: Baking soda + hydrogen peroxide paste (stubborn stains)
This is the workhorse DIY method. At-home tests found this paste often brightened grout more effectively than baking soda with water or vinegar mixes.
- Combine 2 parts baking soda with 1 part 3% hydrogen peroxide to form a paste.
- Apply generously along grout lines.
- Let sit for 10–15 minutes.
- Scrub with a grout brush using firm, short strokes.
- Rinse thoroughly and dry.
Hydrogen peroxide at 3% breaks down organic stains and acts as a mild disinfectant when given adequate contact time.
Method 4: Commercial cleaners (Zep, Tilex, Clorox)
Zep Grout Cleaner & Brightener is a strong option for heavy discoloration. Always test in an inconspicuous spot first, allow 2–3 minutes to penetrate, scrub stubborn stains, then rinse thoroughly. Tilex Mold & Mildew Remover and Clorox Clean-Up Cleaner + Bleach follow a similar protocol: apply, wait the label-specified time (typically 2–5 minutes), scrub, and rinse.
Method 5: Diluted bleach for serious mold
Use this only on colorfast grout and glazed tile. Mix 1 part household bleach with 10 parts water. Apply to affected areas, let sit for 5–10 minutes, then scrub and rinse completely. Lysol guidance recommends starting with milder hydrogen-peroxide-based cleaners and escalating to bleach-based mold removers only for heavy mold, following label contact times throughout.
Ventilate aggressively. Never mix bleach with any other cleaner.
Method 6: Steam cleaning
- Fill the canister with distilled water (tap water leaves mineral deposits in the machine).
- Attach the detail nozzle and let the steamer reach full pressure.
- Hold the nozzle about 1 inch from the grout line.
- Move in slow, 2–3 foot passes.
- Wipe the slurry immediately with a microfiber towel before it re-deposits.
Multiple passes may be needed for heavy soil. Steam cleaning works on ceramic and porcelain without any chemicals, making it the best option for households avoiding harsh products.
Pro Tip: Work in 2–3 foot sections regardless of method. Applying cleaner to a large area at once means the first section dries out before you scrub it, wasting the dwell time entirely.
| Method | Best for | Dwell time |
|---|---|---|
| Dish soap + warm water | Weekly maintenance | 2–3 minutes |
| Baking soda paste | Light stains | 5–10 minutes |
| Baking soda + hydrogen peroxide | Stubborn stains, mild disinfection | 10–15 minutes |
| Commercial cleaner (Zep, Tilex) | Heavy staining, mold | 2–5 minutes (per label) |
| Diluted bleach | Serious mold on colorfast surfaces | 5–10 minutes |
| Steam cleaner | Chemical-free deep clean | No dwell time needed |
What’s the difference between cleaning and disinfecting grout?
Cleaning removes visible dirt, soap scum, and surface grime. Disinfecting kills the microorganisms left behind after cleaning. You cannot effectively disinfect a dirty surface because biofilm and soil physically block the disinfectant from reaching the pathogens underneath. Clean first, always.
Disinfection requires an EPA-registered disinfectant or a product with a labeled kill claim, applied at the right concentration and left wet on the surface for the required contact time. Many products require 1–5 minutes or more of wet contact to meet their kill claims. Wiping immediately after spraying is cleaning, not disinfecting.
**Meeting the labeled contact time on disinfectant products is essential for effective pathogen kill, especially for those claiming 99.9% bacteria reduction. Some facility-grade disinfectants, like OxyCide by Ecolab, list specific short contact times with sporicidal claims — but those are institutional products with strict surface-compatibility notes. For home use, follow your product label exactly.
Key rules for disinfecting tile grout:
- Clean the surface before applying any disinfectant.
- Keep the surface wet for the full contact time listed on the label.
- Never mix disinfectants — especially bleach with acids (vinegar, some bathroom cleaners) or ammonia-based products.
- Rinse after disinfection unless the label says otherwise.
How long should you let cleaners sit, and how do you scrub correctly?
Dwell time is the most underused lever in grout cleaning. Cleaning professionals emphasize that letting a solution sit for several minutes before scrubbing breaks down mineral deposits, soap scum, and biological soils far more effectively than scrubbing harder with less contact time. Spray-and-scrub wastes effort.
Typical recommended dwell times run 5–15 minutes depending on cleaner strength. Lighter solutions like baking soda paste need the full 10–15 minutes. Commercial products with active bleach or acid components often work in 2–5 minutes but should not be left longer than the label specifies.
Scrubbing technique:
- Use an angled grout brush held at roughly 45 degrees to the tile surface.
- Keep strokes short and along the grout line, not across it.
- Apply moderate, consistent pressure. Pressing harder than needed won’t improve results and can erode soft grout.
- After scrubbing each section, wipe the slurry away with a damp microfiber cloth before moving to the next section.
- Rinse the brush frequently so you’re not redistributing loosened soil.
Pro Tip: Test any new cleaner in an inconspicuous corner first. Some products react unexpectedly with certain grout pigments or tile finishes, and a small test patch costs you nothing.
How to rinse, dry, and reseal grout after cleaning
Rinsing matters more than most people realize. Chemical residue left in grout lines attracts dirt faster, undoing your work within days. Rinse with clean water, working from top to bottom so runoff doesn’t re-contaminate areas you’ve already cleaned.
Dry the surface immediately:
- Squeegee tile walls and floors to remove standing water.
- Follow with a microfiber towel to pull remaining moisture from grout lines.
- Run the exhaust fan for at least 10–20 minutes. Routine prevention like squeegeeing after every shower and running the fan dramatically reduces mold growth and the frequency of deep cleans.
Resealing protects grout from absorbing moisture, stains, and mold. A simple water-bead test tells you when it’s time: drop a few water droplets on the grout. If they soak in rather than bead up, the sealer is gone.
Reseal frequency:
- High-use wet areas (shower floor, tub surround): every 12–18 months
- Lower-traffic areas (bathroom floor, backsplash): every 18–24 months
Between deep cleans, a weekly squeegee and a spot-clean with a pH-neutral cleaner keeps grout in good shape without the need for heavy products.
Common mistakes and safety rules that protect you and your tile
The mistakes that cause the most damage are almost always about product choice, not technique.
Don’t do these:
- Mix bleach with vinegar, ammonia, or any other cleaner. The fumes are toxic and the combination can cause chemical burns.
- Use wire brushes on glazed tile or soft grout. They scratch the glaze and erode grout faster than the stain ever would.
- Apply acidic cleaners (vinegar, citrus, some bathroom sprays) to marble, travertine, or limestone. Acids etch natural stone and weaken grout permanently.
- Skip the patch test. Always test a new product in an inconspicuous area before applying it to the full surface.
- Leave bleach or strong disinfectants on grout longer than the label recommends. More time does not mean better results, and it can discolor or degrade grout.
Ventilation is not optional. Bleach and commercial mold removers release chlorine gas in enclosed spaces. If your bathroom has no window and a weak exhaust fan, prop the door open and take breaks. If ventilation is genuinely poor, wait for a professional rather than exposing yourself to concentrated fumes in a small space.
When to stop DIY and call someone:
- Mold covers a large area (generally more than 10 square feet).
- Mold returns within days of a thorough cleaning.
- Grout is visibly crumbling, gapping, or pulling away from tile edges.
When should you call a professional cleaner or contractor?
Some grout problems are cleaning problems. Others are structural problems wearing a cleaning problem’s disguise. Recurring mold often signals deeper moisture or waterproofing failures. If mold comes back within a week of proper cleaning, the source is likely behind the tile, not on it.
Signs you need a professional:
- Mold returns quickly after a thorough clean with a bleach-based product.
- A persistent musty odor that doesn’t clear after cleaning and drying.
- Grout that flakes, gaps, or feels soft when pressed.
- Tiles that sound hollow when tapped, suggesting moisture behind the wall.
- Visible water staining on adjacent walls or ceilings.
What a professional service addresses: deep steam cleaning with commercial-grade equipment, waterproofing inspection, grout repair or full regrouting, and tile replacement when damage is structural. A professional deep clean also includes the diagnostic eye to distinguish surface mold from a moisture intrusion problem, which no amount of hydrogen peroxide will fix.
For Orange County homeowners, Neatandtidypros offers deep cleaning services that include bathroom grout restoration as part of a full-room treatment.
A professional cleaner’s perspective on grout care
The single thing most homeowners get wrong is treating grout cleaning as a once-a-year emergency rather than a monthly habit. By the time grout looks bad enough to scrub, the staining has usually penetrated past the surface layer, and you’re spending three times the effort for half the result.
The routine that actually works: a weekly squeegee after showers, a monthly spot-check with a baking soda paste on any darkening lines, and a full deep clean with hydrogen peroxide paste every two to three months. Reseal on schedule, and you’ll rarely need bleach at all.
One thing only professionals tend to notice: always use distilled water in a steam cleaner. Tap water leaves mineral deposits inside the machine and on the grout surface, creating the very problem you’re trying to solve. Work in small sections, wipe slurry immediately, and let the steam do the work rather than pressing the nozzle hard against the surface.
For households with children, pets, or anyone with respiratory sensitivities, eco-friendly cleaning options in Orange County are worth exploring before reaching for bleach-based products.
Neatandtidypros handles what DIY can’t reach
Grout cleaning done right takes time, the right equipment, and an honest read of what you’re dealing with. Neatandtidypros brings commercial-grade steam cleaning, professional grout brushes, and the diagnostic experience to tell a surface stain from a moisture problem before it becomes a tile replacement.

Services include deep grout cleaning, steam treatment, resealing assessment, and eco-friendly options for households that prefer lower-toxicity products. For persistent mold, structural concerns, or a bathroom that simply hasn’t had a real deep clean in years, the team handles it without the guesswork or the fumes.
Book a residential deep clean and get your bathroom grout back to clean, sealed, and protected. See the full list of what’s included in a professional deep clean or browse all available services to find the right fit.
Sources
The following sources informed the methods, safety guidance, and product recommendations throughout this guide:
- Best way to clean grout | Good Housekeeping
- Best grout cleaners, according to Consumer Reports
- How to clean and disinfect tile grout | Lysol
- Zep Grout Cleaner & Brightener
- I tested 3 DIY grout cleaners | Apartment Therapy
- OxyCide Daily Disinfectant Cleaner | Ecolab