
A deep clean removes the buildup that routine tidying never touches: grease behind the stove, mildew in grout lines, dust caked on HVAC registers, and grime inside appliances. The fastest way to start is a four-step sequence: declutter first, then tackle high surfaces and ceiling fans, then heavy-duty tasks like the oven and bathroom, and finish with floors. Many apartments benefit from a full deep clean multiple times a year.
Here is what you can accomplish in the first 30–60 minutes to see immediate results:
- Remove all clutter from counters, floors, and tables so every surface is accessible
- Dust ceiling fans, light fixtures, and corners (top-to-bottom always, so debris falls to floors you haven’t cleaned yet)
- Start the oven self-clean cycle or apply a baking soda paste so it works while you clean other rooms
- Strip bed linens and throw them in the wash
- Clear the refrigerator of expired food and wipe down shelves
Time at a glance: A one-bedroom apartment usually takes 4–6 hours to deep clean, while larger two-bedroom apartments generally require 6–8 hours. A move-out clean adds time for documentation and cleaning appliance interiors. Spread across a weekend, neither feels punishing.
Table of Contents
- What supplies do you need to deep clean an apartment?
- How to prep your space before you start cleaning
- How long does a deep clean take, and what does it cost?
- Room-by-room apartment deep clean checklist
- Professional techniques for the toughest cleaning jobs
- One-day sprint vs. relaxed weekend plan
- Key Takeaways
- When a DIY deep clean isn’t the right call
- Neatandtidypros makes professional deep cleaning straightforward
- Useful sources and further reading
What supplies do you need to deep clean an apartment?
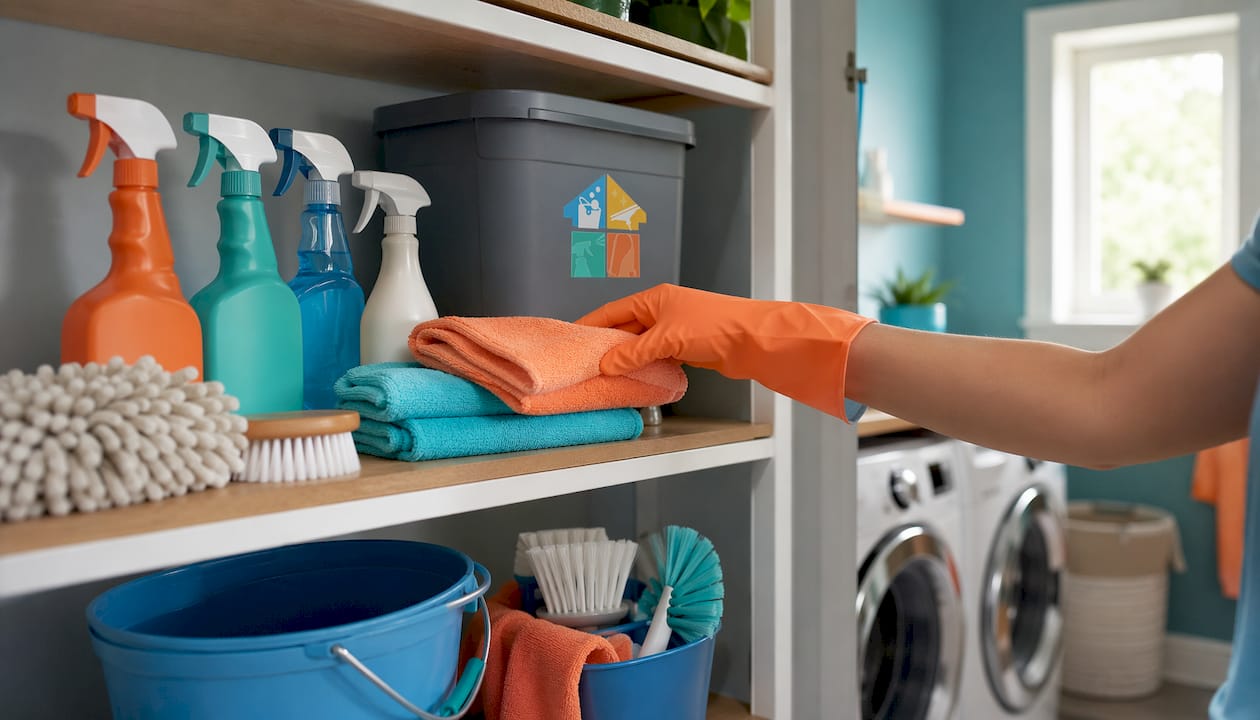
You don’t need a closet full of specialty products. A focused list of tools and a couple of DIY recipes cover nearly every surface.
The essential supplies list
| Category | Items |
|---|---|
| Tools | Vacuum with attachments, mop, microfiber cloths (at least 6), scrub brush, old toothbrush, sponge, squeegee |
| Consumables | Baking soda, distilled white vinegar, dish soap, all-purpose cleaner, glass cleaner, toilet bowl cleaner |
| Kitchen-specific | Degreaser, oven cleaner (or baking soda paste), dishwasher-safe cup for vinegar cycle |
| Bathroom-specific | Grout brush, bleach (diluted), caulk inspection tool or old butter knife |
| PPE & Safety | Rubber gloves, disposable mask, safety glasses for bleach work |
| Miscellaneous | Garbage bags, labeled bins or boxes (keep/donate/trash), paper towels, spray bottles |
Two DIY cleaner recipes
All-purpose vinegar spray: Mix equal parts distilled white vinegar and water in a spray bottle. Add 10–15 drops of lemon or tea tree essential oil if you want a scent. Use on countertops, cabinet fronts, and bathroom surfaces. Do not use on natural stone (marble, granite) — the acid etches the surface.
Baking soda paste for heavy grime: Combine ½ cup baking soda with enough dish soap to form a thick paste. Apply to oven interiors, grout lines, and sink basins. Let it sit 15–20 minutes before scrubbing. For a fizzing action on drains, pour baking soda down first, follow with white vinegar, wait five minutes, then flush with hot water.
What never to mix: Bleach and ammonia produce toxic chloramine gas. Bleach and vinegar release chlorine gas. Hydrogen peroxide and vinegar together form peracetic acid, which irritates lungs. Keep these products in separate spray bottles and never combine them, even in a sink.
Pro Tip: Before using any cleaner on a new surface, test it on a hidden spot — the inside of a cabinet door or the back corner of a tile — and wait five minutes. Some “all-purpose” cleaners strip finishes from laminate or discolor grout.
Open windows and run exhaust fans whenever you use bleach, oven cleaner, or any aerosol. Good ventilation is not optional with strong cleaners.
How to prep your space before you start cleaning
Skipping prep is the single biggest reason a deep clean takes twice as long as it should. Fifteen minutes of setup saves hours of backtracking.
Step-by-step prep sequence
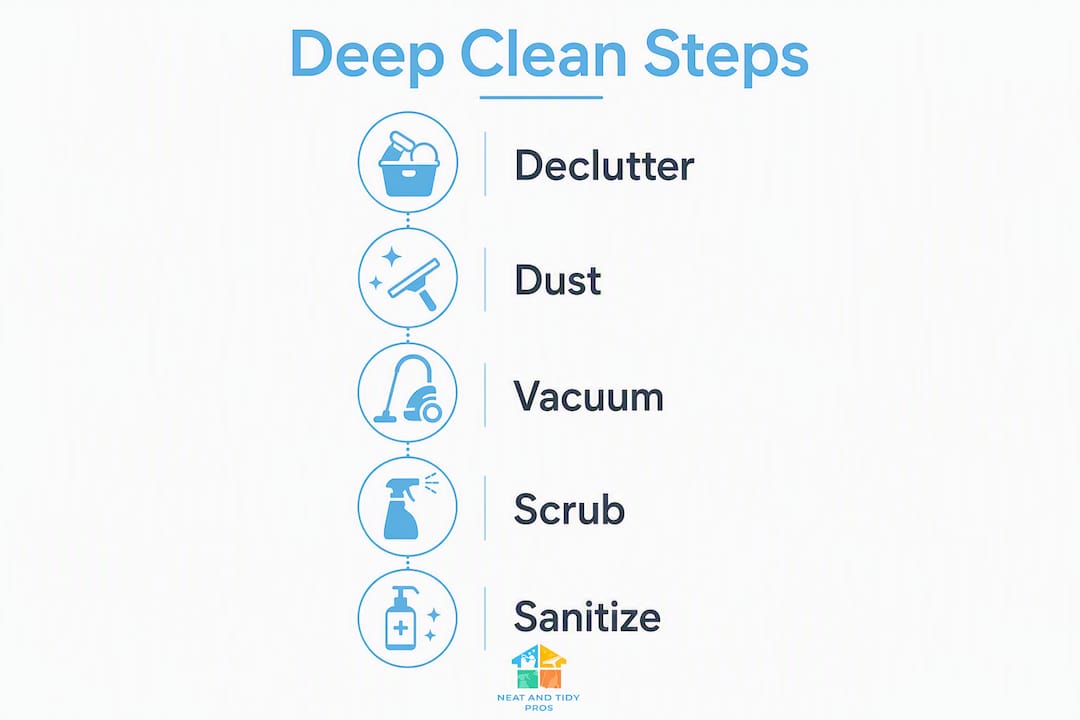
- Declutter every room first. Move items off counters, floors, and shelves into labeled bins: keep, donate, or trash. Piled mail or laundry blocks access to surfaces and makes you clean around things instead of under them.
- Remove all textiles for laundering. Strip bed linens, pillowcases, bathroom mats, shower curtains, and any throw blankets. Start the first load before you pick up a sponge.
- Clear the kitchen. Empty the refrigerator of expired items, pull everything off counters, and set small appliances aside so you can wipe the full surface.
- Plan top-to-bottom. Dust ceilings, fans, and high shelves before you touch floors. Gravity works for you when you clean in the right order.
- Set appliance cycles running. Start the oven self-clean or baking soda treatment, run an empty dishwasher cycle with a cup of white vinegar, and put the first laundry load in. These run in the background while you work.
Safety callouts
- Never mix bleach with ammonia or vinegar. Both combinations release toxic gases. Use them in separate sessions with ventilation between.
- Ventilate every room where you use strong cleaners. Open windows and run exhaust fans. If you feel lightheaded or smell fumes strongly, step outside immediately.
- Wear rubber gloves and eye protection when working with bleach, oven cleaner, or commercial degreasers.
- Unplug appliances before wiping around outlets and cords. Water and electricity near outlets is a real hazard.
- Keep cleaning products in their original containers or clearly labeled spray bottles. Never store them in food containers.
Waste and disposal
Separate used rags and sponges from reusable microfiber cloths. Rinse microfiber cloths thoroughly before washing — cleaning product residue can damage washing machine seals over time. For chemical containers, check your local municipality’s guidelines on hazardous waste disposal; many California counties offer free drop-off days for cleaning chemicals and aerosols. Recycle cardboard packaging and plastic bottles where accepted.
Pro Tip: Use three labeled bins or boxes during declutter: Keep, Donate, and Trash. Anything that doesn’t have a clear home goes into one of those three — not back on the counter “for now.” That one habit cuts re-cleaning by a significant margin.
How long does a deep clean take, and what does it cost?
Time needed for deep cleaning varies by apartment size, with larger apartments generally requiring more hours for completion.
Move-out cleans take longer because they include appliance interiors, inside cabinets, and date-stamped photo documentation of every room and surface for deposit protection. Heavy grime buildup, carpets, or long-neglected appliances add time to any category.
DIY vs. professional cost
DIY supplies for a full deep clean cost a moderate amount if starting new, with professional deep-clean services varying widely in price based on several factors including location and apartment size. Add-ons that commonly increase price include oven interior cleaning, carpet steam cleaning, interior window cleaning, and refrigerator coil service.
Questions to ask a cleaning pro before booking
- What’s included in the base price, and what costs extra?
- Are appliance interiors (oven, fridge, microwave) included or add-ons?
- Do you bring your own supplies, or should I provide them?
- Are your cleaners insured and background-checked?
- What’s your cancellation or rescheduling policy?
- Will you document the condition of the apartment before and after?
That last question matters especially for renters. Photo documentation of pre-existing damage protects your deposit if a landlord disputes the condition at move-out.
Room-by-room apartment deep clean checklist
Work through rooms in this order: kitchen, bathrooms, bedrooms, living areas, closets, laundry, then throughout. Dust before you vacuum; run appliance cycles while you work on other rooms.
Kitchen
- Oven: Apply baking soda paste or run self-clean cycle; wipe interior walls, racks, and door glass
- Range hood and filter: Soak the filter in hot water and degreaser for 15 minutes, scrub, rinse; wipe hood exterior
- Stovetop: Remove grates and burner caps; scrub with degreaser; wipe down surface
- Microwave: Heat a bowl of water and lemon slices for 3 minutes, then wipe interior; clean turntable and door seal
- Refrigerator: Empty, wipe all shelves and drawers with warm soapy water; check door gaskets for mold; vacuum coils behind or underneath
- Dishwasher: Run an empty cycle with white vinegar; wipe door seal and filter
- Sink and disposal: Scrub basin with baking soda; clean faucet and handles; flush disposal with ice cubes and salt, then citrus peels
- Cabinet fronts and interiors: Wipe fronts with degreaser; empty and wipe interiors; reline if needed
- Backsplash: Scrub tile grout with a brush and baking soda paste; wipe down with all-purpose cleaner
- Pantry: Remove everything, wipe shelves, discard expired items, reorganize
Frequency flags: oven interior — quarterly; refrigerator coils — twice a year; range hood filter — monthly if you cook frequently.
Bathroom
- Tub and shower: Spray with all-purpose or vinegar solution; scrub tiles and walls; rinse
- Grout lines: Scrub with a grout brush and baking soda paste or a diluted bleach solution (1 part bleach to 10 parts water); rinse thoroughly
- Toilet: Scrub bowl with toilet brush; disinfect base, behind the bowl, tank, lid, and handle
- Exhaust fan: Remove cover, vacuum dust from blades and housing, wipe cover before replacing
- Shower curtain and liner: Launder fabric curtains; replace plastic liners if moldy
- Caulking: Inspect for cracks or mold; remove and re-caulk if needed
- Mirror and medicine cabinet: Clean mirror with glass cleaner; wipe cabinet shelves and door
- Vanity and sink: Scrub basin and faucet; wipe drawer interiors
- Floor: Scrub grout, mop with disinfectant
Frequency flags: grout scrub — quarterly; exhaust fan — every 3 months; caulk inspection — twice a year.
Bedroom
- Bedding: Launder all sheets, pillowcases, duvet covers, and pillow protectors
- Pillows and comforter: Wash or air out; check care labels
- Mattress: Vacuum surface with upholstery attachment; spot-clean stains with baking soda paste; flip or rotate
- Bed frame and headboard: Wipe down; vacuum under the bed
- Closet: Wipe shelves; vacuum floor; organize shoes and hangers; donate anything not worn in a year
- Surfaces: Dust nightstands, dressers, and lamps top-to-bottom
- Windows: Clean glass and tracks; dust or launder curtains; wipe blinds
- Baseboards: Wipe with a damp microfiber cloth
Living areas
- Upholstery: Vacuum cushions, under cushions, and along seams; spot-clean stains
- Shelving and electronics: Dust top-to-bottom; wipe TV screen with a dry microfiber cloth
- Light switches and outlets: Wipe with a lightly damp cloth (unplugged or off)
- Windows and blinds: Clean glass; wipe or launder blinds and curtains
- Baseboards and door frames: Wipe with a damp cloth; spot-clean scuffs with a magic eraser
- Floors: Vacuum, then mop or steam-clean hard floors; move furniture to clean underneath
Closets and entry
- Wipe all shelves and rods
- Vacuum or sweep floor, including corners
- Organize shoes on a rack; straighten hangers
- Wipe entry door, handle, and surrounding wall
Laundry area
- Clean the lint trap and surrounding housing with a vacuum attachment
- Run a washer self-clean cycle or an empty hot cycle with white vinegar
- Wipe dryer drum with a damp cloth; check the vent hose for lint buildup
- Wipe exterior of both machines
Throughout the apartment
- Baseboards: Full wipe-down in every room
- Light fixtures: Dust shades and bulbs (cool only); wipe fixture housing
- HVAC vents and registers: Remove covers, vacuum dust, wipe with a damp cloth; replace HVAC filters every 1–3 months
- Walls and door frames: Spot-clean marks and scuffs
- Trash cans: Empty, spray with disinfectant, rinse, dry
- Smoke and CO detectors: Test and replace batteries annually
Order-of-operations reminder: Always dust before you vacuum. Run appliance cycles (oven, dishwasher, washer) at the start so they finish while you work on other rooms. Clean bathrooms before bedrooms so you’re not tracking bathroom grime through a freshly cleaned bedroom.
Professional techniques for the toughest cleaning jobs
Routine scrubbing handles most surfaces. The spots that defeat most DIYers are grout, oven interiors, refrigerator coils, range-hood filters, and upholstery. Here’s how to handle each one.
Grout cleaning
Mix 1 part bleach to 10 parts water in a spray bottle. Apply to grout lines, let it sit for 5–10 minutes, then scrub with a stiff grout brush. Rinse thoroughly with water. For colored grout or natural stone surrounds, skip bleach and use a baking soda paste with a few drops of dish soap instead — bleach can discolor some grout pigments. Always ventilate the bathroom when using bleach; the fumes build up fast in a small, enclosed space.
Oven degreasing
The baking soda paste method is slower but safer than commercial oven cleaners: coat the interior walls and racks with a thick paste of baking soda and water, leave it overnight, then wipe away with a damp cloth and a plastic scraper. For a faster result, use a commercial oven cleaner according to label directions — always with the windows open and the exhaust fan running. The self-clean cycle works well but generates significant heat and smoke; run it only when you can ventilate the kitchen fully and plan to be home. For detailed steps on cleaning kitchen appliances, the process varies by appliance type and finish.
Refrigerator coils
Dusty coils make the refrigerator work harder and shorten its lifespan. Unplug the fridge, pull it away from the wall (use furniture sliders to protect the floor), and vacuum the coils with a brush attachment. Wipe the floor underneath while you have access. Push the fridge back and plug it in. Do this twice a year.
Range-hood filter
Submerge the filter in a sink filled with very hot water, a generous squirt of dish soap, and a quarter cup of baking soda. Let it soak for 15–20 minutes. The grease releases easily after soaking; scrub with a brush, rinse, and air dry before reinstalling.
Upholstery and mattress care
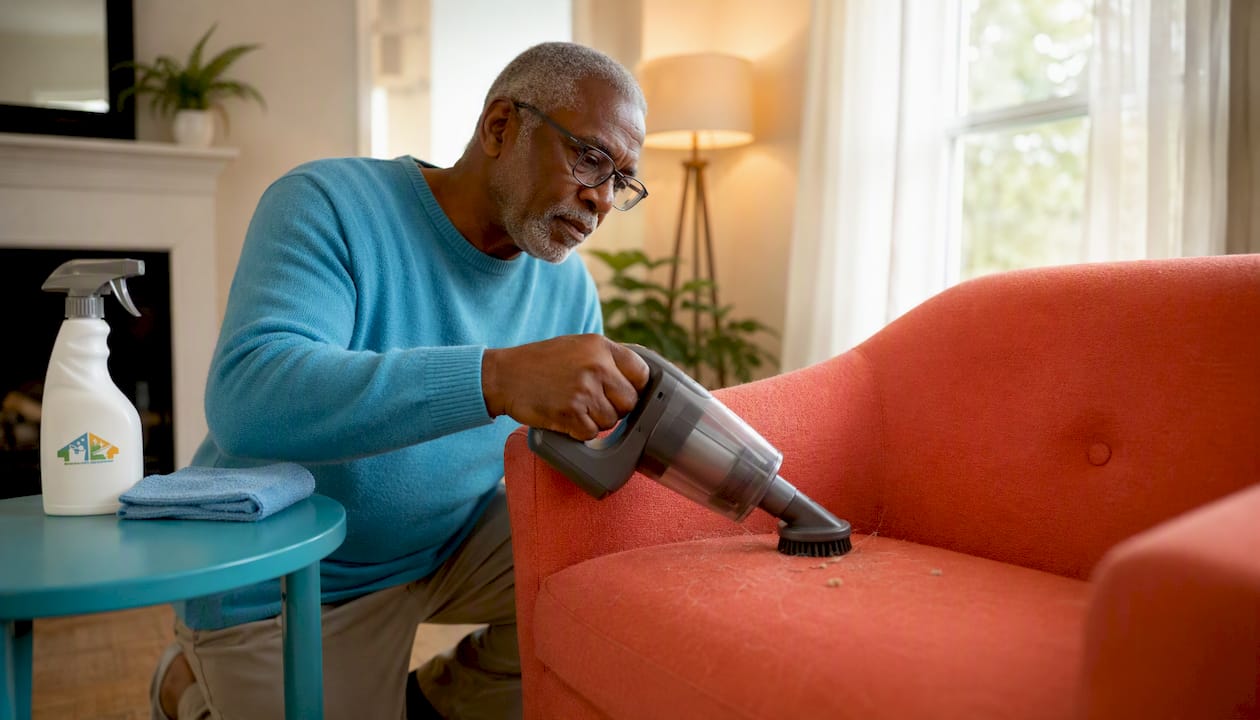
Vacuum upholstery with the brush attachment, paying attention to seams and crevices where crumbs and dust collect. For spot stains, blot (never rub) with a solution of one teaspoon dish soap in one cup of cold water. Removable covers should go in the wash according to their care labels. For mattresses, sprinkle baking soda over the surface, let it sit for at least 30 minutes, then vacuum it up. Steam cleaning is the most effective method for sanitizing a mattress, but only if the mattress can dry fully before you put bedding back on.
Pro Tip: When cleaning behind appliances, use furniture sliders under the front feet before pulling them out. Dragging a refrigerator or washing machine across a floor without sliders scratches hardwood and cracks tile grout. A $10 set of sliders prevents a repair bill.
Monthly maintenance schedule
The crisis cleaning cycle happens when small tasks pile up until the apartment is genuinely dirty. Breaking that cycle takes about 10–15 minutes a day and one focused hour per week.
Daily: Wipe kitchen counters after cooking, wash dishes or run the dishwasher, hang up clothes instead of piling them, and do a quick bathroom wipe-down.
Weekly: Vacuum all floors, mop hard surfaces, clean the toilet and sink, wipe stovetop, take out trash, and do one load of laundry.
Monthly focus tasks:
- Wipe cabinet fronts and appliance exteriors
- Clean exhaust fans and check HVAC vents
- Wipe baseboards in one or two rooms (rotate through the apartment)
- Run the washer self-clean cycle
- Check smoke and CO detector batteries
Apartments maintained on this schedule typically need a full deep clean only twice a year rather than quarterly.
One-day sprint vs. relaxed weekend plan
One-day intensive schedule
| Time block | Tasks |
|---|---|
| 8:00–8:30 AM | Declutter all rooms, start laundry, apply oven treatment, start dishwasher cycle |
| 8:30–10:00 AM | Kitchen: appliances, sink, cabinets, counters, backsplash |
| 10:00 AM–11:30 AM | Bathrooms: tub, toilet, grout, exhaust fan, mirror, floor |
| — | Break; switch laundry load |
| 12:00–1:30 PM | Bedrooms: bedding, mattress, surfaces, closet, windows |
| 1:30–2:30 PM | Living areas: upholstery, shelving, electronics, windows, baseboards |
| 2:30–3:00 PM | Throughout: vents, light fixtures, walls, trash cans, smoke detectors |
| 3:00–3:30 PM | Floors: vacuum all rooms, then mop hard floors |
| 3:30–4:00 PM | Final pass: laundry to dryer, finishing touches, air out rooms |
Relaxed weekend plan
Saturday morning (9:00 AM–12:00 PM): Declutter, start laundry, kitchen deep clean (all appliances, sink, cabinets, pantry reset).
Saturday afternoon (1:00–4:00 PM): Both bathrooms (grout, tub, toilet, exhaust fans, floors), laundry area.
Sunday morning (9:00 AM–12:00 PM): Bedrooms (bedding, mattress, closets, surfaces, windows).
Sunday afternoon (1:00–3:30 PM): Living areas, entry, throughout tasks (vents, baseboards, light fixtures, walls), then all floors.
Dividing tasks between two people
| Person A | Person B |
|---|---|
| Kitchen (appliances, sink, cabinets) | Bathrooms (tub, toilet, grout, floors) |
| Living areas (upholstery, shelving, windows) | Bedrooms (bedding, mattress, closet, surfaces) |
| Floors (vacuum and mop throughout) | Throughout (vents, baseboards, light fixtures, trash cans) |
End-of-shift checklist: Before calling it done, walk every room and confirm: floors clean and dry, all laundry folded or hung, trash emptied, HVAC filter checked, windows closed, and appliances back in place. A diffuser or candle in the main living area is a small finishing touch that makes the clean feel complete.
Key Takeaways
A thorough apartment deep clean follows a top-to-bottom, room-by-room sequence and takes 4–6 hours for a one-bedroom or 6–8 hours for a two-bedroom apartment, with the biggest time savings coming from running appliance cycles in the background while you work on other rooms.
| Point | Details |
|---|---|
| Start with declutter | Clear all surfaces before cleaning so every task is faster and nothing gets cleaned around. |
| Time realistically | A 1-bedroom takes 4–6 hours; a 2-bedroom takes 6–8 hours; move-out cleans run longer. |
| Safety first | Never mix bleach with ammonia or vinegar; always ventilate when using strong cleaners. |
| Maintain to reduce effort | Daily and weekly upkeep cuts full deep cleans from quarterly to twice a year. |
| Neatandtidypros handles the hard parts | For move-outs, heavy grime, or time constraints, Neatandtidypros offers professional deep-clean services in Orange County and Corona, California. |
When a DIY deep clean isn’t the right call
Most apartment deep cleans are entirely manageable as a weekend project. But there are situations where doing it yourself costs more in time, risk, or surface damage than hiring a professional.
The clearest hiring signals: visible mold beyond surface-level grout discoloration, heavy mineral scale inside appliances, a move-out deadline with a landlord who documents everything, or a physical limitation that makes scrubbing or moving appliances unsafe. In those cases, the signs your home needs professional cleaning go beyond what a checklist can fix.
Professionals also bring equipment that most renters don’t own: commercial steam cleaners, HEPA-filter vacuums, and industrial degreasers that cut through years of buildup in a fraction of the time. The rooms covered in a professional deep clean typically include every surface a DIY checklist covers, plus the ones most people skip: refrigerator coils, exhaust fan housings, window tracks, and door frame tops.
The honest answer is that a well-executed DIY clean on a maintained apartment looks nearly identical to a professional result. The gap widens when the apartment has been neglected for months, when move-out documentation is on the line, or when the job involves surfaces that are easy to damage with the wrong product.
Neatandtidypros makes professional deep cleaning straightforward

Doing it yourself works well when the apartment is in reasonable shape and you have a full day to commit. When the job is bigger than that — a move-out clean with a tight deadline, an apartment that hasn’t had a deep clean in over a year, or a kitchen with serious grease buildup — Neatandtidypros delivers a faster, more thorough result without the physical toll.
A professional deep clean from Neatandtidypros covers every room on the checklist above, including appliance interiors, grout scrubbing, baseboards, vents, and window tracks. Common add-ons include oven interior cleaning, carpet steam cleaning, and interior window service. Every job is handled by insured, background-checked cleaners using eco-friendly products safe for homes, pets, and families.
Neatandtidypros serves Orange County and Corona, California. To get a quote or book a service, visit the residential cleaning guide or go directly to the services page to see what’s included and schedule your clean.
Useful sources and further reading
- Apartment Deep Cleaning Checklist (Interactive & Printable) — A printable, room-by-room checklist covering every major task from initial prep through finishing touches; useful for tracking progress during a DIY clean.
- The Ultimate Apartment Cleaning Checklist — Apartments.com — Covers appliance tricks (vinegar dishwasher cycle, microwave steam method), decluttering rationale, and maintenance habits to prevent crisis cleaning.
- Apartment Cleaning Checklist — George’s Inspirations — Source for time estimates by apartment size (1BR: 4–6 hours, 2BR: 6–8 hours) and HVAC filter replacement frequency guidance.
- Apartment Cleaning Checklist — Soap-Man — Detailed task list including grout cleaning ratios, appliance coil cleaning, and move-out photo documentation advice.
- The Ultimate Apartment Cleaning Checklist — Redfin — Practical supply list and room-by-room guidance with tips from professional organizers on kitchen counter management and degreasing cabinets.
- Neatandtidypros Deep Cleaning Service — Overview of what a professional deep clean includes versus a basic clean, with booking information for Orange County and Corona, California.
- Why Deep Clean a Rental Property — Neatandtidypros — California-specific guidance on landlord expectations, deposit protection, and move-out documentation requirements.