
Deep cleaning your kitchen appliances means more than wiping down surfaces. It means pulling out shelves, scrubbing filters, descaling heating elements, and removing the grease and bacteria that build up in places you rarely look. Done right, it restores performance, prevents fire hazards, and keeps your food safe. Here is exactly how to do it, appliance by appliance.
The core process applies to almost every machine in your kitchen:
- Remove all detachable parts before cleaning anything.
- Use the right cleaning agent for each surface: baking soda paste for grease, white distilled vinegar for limescale, dish soap and warm water for general grime.
- Follow your appliance manual. NSF International found that many homeowners are not cleaning appliances effectively because they skip manufacturer instructions, allowing pathogens to persist on ice makers, water dispensers, and food prep surfaces.
- Dry every part completely before reassembly. Moisture trapped in gaskets and seals encourages mold and accelerates mechanical failure.
- Ventilate and wear gloves when using commercial cleaners or any chemical-based product.
Cleaning condenser coils can cut a refrigerator’s energy use by up to 25%. Baked-on oven grease becomes a fire hazard if left uncleaned for extended periods. The stakes are real, and the fix is straightforward.
1. How to deep clean your refrigerator
Your refrigerator runs around the clock, and it is the one appliance where raw meat, dairy, and fresh produce share the same enclosed space. Regular thorough cleaning keeps food safe and the compressor running efficiently.
- Pull the fridge away from the wall and unplug it. Locate the condenser coils on the back or behind the bottom kickplate. Vacuum them with a narrow crevice attachment, then use a flexible brush to loosen stuck dust. Dusty coils force the compressor to work harder, shortening its lifespan and raising your energy bill.
- Empty the interior completely. Toss expired items and move perishables to a cooler with ice packs.
- Remove all shelves and drawers. If the shelves are glass, let them sit at room temperature for at least 30 minutes before washing. Thermal shock from cold glass meeting hot water causes shattering.
- Soak shelves and drawers in warm water with dish soap while you clean the interior.
- Wipe the interior walls with two tablespoons of baking soda dissolved in one quart of warm water. This cuts through sticky spills and absorbs odors without leaving chemical residue near food.
- Scrub the door gasket with an old toothbrush dipped in warm soapy water. The accordion folds trap crumbs and sticky residue that prevent a proper seal.
- Clean the drip tray and water dispenser. Run a vinegar-and-water solution through the dispenser line, then flush with clean water.
- Dry everything thoroughly before reassembling and restocking.
2. How to deep clean your dishwasher
Your dishwasher cleans your dishes, but nothing cleans the dishwasher itself. Food particles, grease, and limescale accumulate in the filter, spray arms, and door seals over time, producing odors and leaving residue on supposedly clean plates.
- Remove and clean the filter. Twist the cylindrical filter counterclockwise from the bottom of the tub. Rinse it under warm running water and scrub with an old toothbrush to remove trapped food. This is the single biggest cause of a smelly dishwasher.
- Check the spray arms. Remove them if possible and clear any clogged holes with a toothpick. Blocked holes reduce water pressure and leave dishes dirty.
- Wipe the door seal and interior walls with a damp cloth and dish soap, paying close attention to the rubber gasket around the door edge.
- Run an empty hot cycle with a cup of white vinegar placed upright on the top rack. This dissolves grease and limescale in the internal plumbing.
- Address limescale in hard water areas. Use dishwasher salt and run a monthly cleaning cycle with a citric acid-based cleaner. All-in-one tablets do not contain enough salt for hard water conditions.
Pro Tip: Never skip the filter cleaning step. A clogged filter is a common reason dishwashers develop persistent odors, and cleaning it is quick.
3. How to deep clean your oven and cooktop
Oven grease is not just unpleasant. It is a genuine fire risk, and it causes uneven heat distribution that affects how your food cooks. Plan on about an hour of hands-on time plus overnight soaking for a full reset.
- Remove the oven racks and soak them overnight in a bathtub filled with hot water and a half-cup of powdered dishwasher detergent. The grease rinses off easily the next morning.
- Make a baking soda paste by mixing a half-cup of baking soda with just enough water to form a spreadable consistency. Coat the oven interior, avoiding bare heating elements.
- Let the paste sit for at least 12 hours. The alkaline action breaks down the complex polymers in baked-on grease without producing fumes.
- Wipe out the paste with a damp microfiber cloth. For stubborn spots, spray a little white vinegar over the remaining residue. The reaction lifts the final traces of carbonized food.
- Use a flat razor blade scraper at a 45-degree angle to remove hardened grease from the oven door glass.
- For heavy grease, commercial oven cleaners dissolve residue faster but are caustic. Wear rubber gloves, open windows, and follow product instructions exactly.
- Clean the stovetop: remove burner grates and soak them in dish soap and warm water. For gas stoves, soak the burner caps too. Wipe the surface with a one-to-one mix of vinegar and water, or dish soap for built-up grease.
Pro Tip: Match your cleaner to the surface. Baking soda paste works on oven interiors and stainless steel but scratches glass cooktops. For glass-top ranges, use a cleaner formulated specifically for that surface.
4. What tools and cleaning materials work best
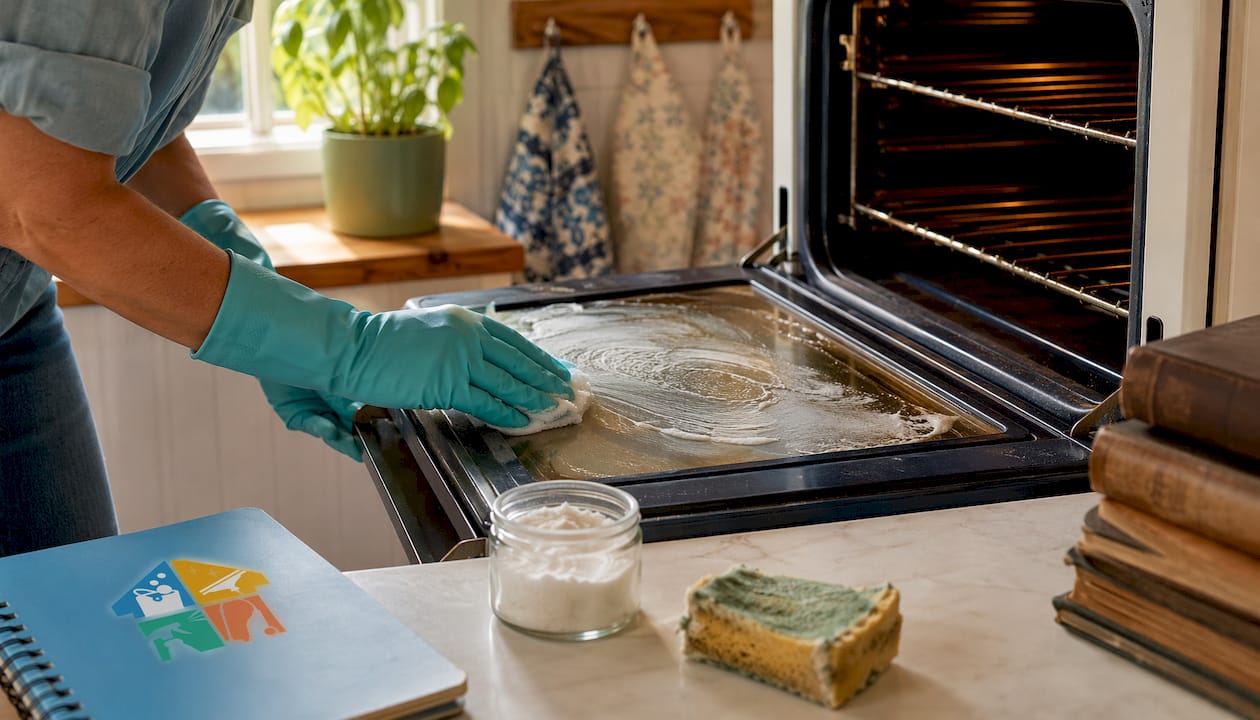
The right supplies make every appliance job faster and safer. You do not need a cabinet full of specialty products.
Natural cleaning agents:
- Baking soda (sodium bicarbonate): mildly alkaline, non-abrasive, dissolves grease, and neutralizes odors. Works on ovens, fridges, and microwaves.
- White distilled vinegar: cuts limescale and grease, deodorizes. Avoid it on aluminum surfaces, where it causes pitting corrosion.
- Citric acid: better than vinegar for descaling kettles and coffee makers because it rinses cleaner and leaves no aftertaste.
- Dish soap: effective on most appliance surfaces for general degreasing.
Tools:
- Microfiber cloths for streak-free wiping on stainless steel and glass.
- Soft nylon brushes with fine bristles for filters, gaskets, and spray arms.
- An old toothbrush for tight corners and accordion-fold door seals.
- A vacuum with a crevice attachment for condenser coils and crumb trays.
What to avoid: Steel wool and abrasive scouring pads scratch surfaces and create micro-grooves where bacteria accumulate. Never use bleach on stainless steel; it causes corrosion over time. For safe cleaning products that work across different appliance materials, always cross-check with your appliance manual before applying anything new.
5. Tips for removing stubborn grime and maintaining hygiene
Tough, baked-on grease requires a different approach than everyday cleaning. Scrubbing harder without the right chemistry usually just spreads the problem.
- Warm the surface first. A brief burst of heat loosens grease and makes cleaning agents more effective. Run the oven at a low temperature for five minutes, then turn it off before applying your cleaner.
- Pre-treat carbonized residue with an enzymatic degreaser containing protease and lipase enzymes. These break down the rancid triglyceride films that form when crumbs mix with oil and polymerize at high heat. Apply, wait five minutes, then wipe.
- Use baking soda and vinegar separately, not together. The fizzing reaction looks impressive but produces salt water, neutralizing both agents’ cleaning power.
- Dry every part completely before reassembly. Moisture trapped in gaskets and seals is the primary cause of mold growth and premature mechanical failure, particularly in humid climates.
- Sanitize high-contact surfaces like refrigerator handles, microwave keypads, and oven knobs weekly with a damp microfiber cloth and mild soap.
Pro Tip: Always check your appliance manual before applying any cleaning agent. Some manufacturers void warranties if non-approved chemicals are used on specific surfaces. For detailed guidance on appliance care, appliance maintenance tips from qualified technicians can help you avoid costly mistakes.
6. How to deep clean your microwave
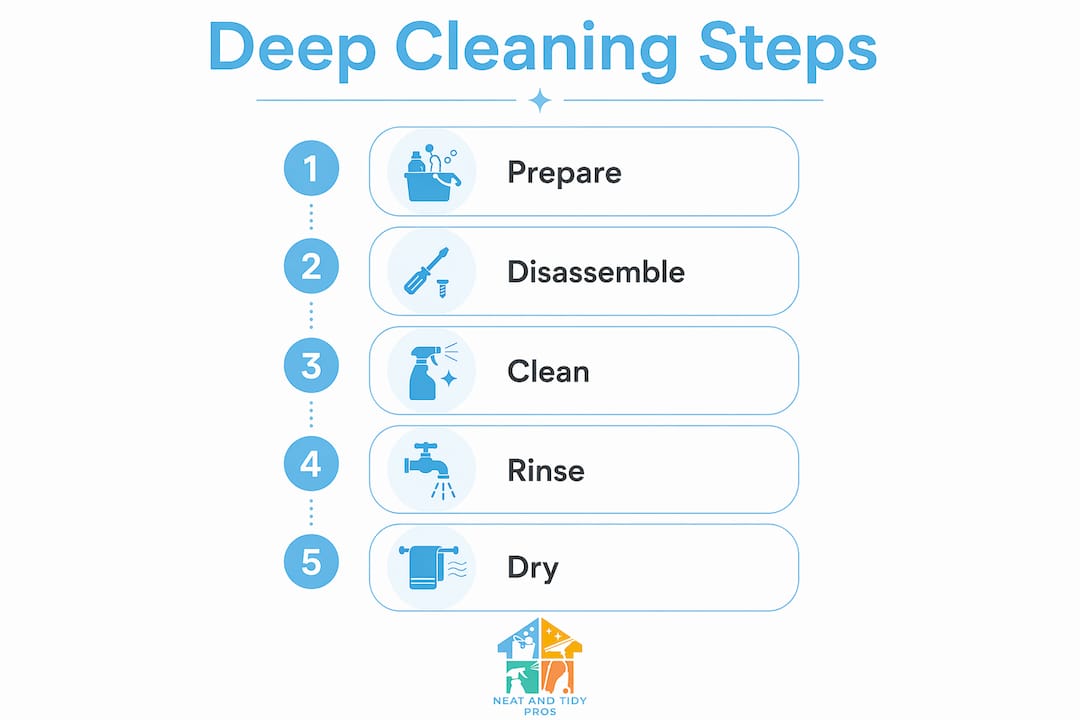
The microwave is the quickest appliance to deep clean, and steam does most of the work for you.
Fill a microwave-safe bowl with one cup of water and two tablespoons of white vinegar or lemon juice. Microwave on high for five minutes until the water boils and the window steams up, then leave the door closed for another five minutes. The trapped steam softens baked-on food splatter significantly, cutting scrubbing time. Wipe the interior with a damp sponge, starting from the top and working down. Remove the glass turntable and roller ring and wash them in the sink with warm soapy water. Wipe the exterior with a damp microfiber cloth, paying attention to the door handle and keypad where grease and bacteria accumulate.
7. How to deep clean your stovetop and range hood
Gas and electric stovetops collect grease at every meal, and the range hood above them is often the most neglected surface in the kitchen.
For gas stovetops, remove the burner grates and caps and soak them in hot, soapy water for 20 minutes. Scrub with a nylon brush to remove baked-on residue, then rinse and dry completely before replacing. Wipe the stovetop surface with a dish soap and water solution, using a toothbrush for the areas around the burner ports.
For electric coil stovetops, disconnect the coil burners and hand-clean them with a damp sponge, keeping the electrical connection points dry. For glass-top electric ranges, use a cleaner formulated specifically for that surface. Baking soda paste can scratch glass cooktops, so skip it here.
The range hood filter traps grease vapor from every cooking session. Remove the metal mesh filter and soak it in a sink of very hot water with a generous squirt of dish soap and a quarter-cup of baking soda. Let it soak for 10 minutes, scrub with a brush, and rinse. If the filter is dishwasher-safe, run it through a hot cycle instead. Wipe the hood exterior and interior surfaces with a degreasing dish soap solution.
8. How to deep clean your coffee maker and kettle
Mineral buildup inside coffee makers and kettles reduces heating efficiency and affects the taste of every cup.

For coffee makers, run a descaling cycle once a month using a solution of equal parts water and white vinegar. Fill the reservoir, place the filter basket, and run the machine halfway through the brew cycle. Pause for 30 minutes to let the solution work through the internal tubing, then complete the cycle. Follow with two full cycles of plain water to flush out any vinegar residue. Wash the carafe and filter basket in warm soapy water after each use.
For kettles, skip vinegar and use food-grade citric acid instead. Fill the kettle three-quarters full with water, add one tablespoon of citric acid, and let it sit cold for 12 minutes. Pour it out, rinse twice, then boil once with fresh water. Boiling vinegar concentrates acetic acid vapors, which can corrode aluminum heating plates and damage the auto-shutoff mechanism. Citric acid descales more cleanly and leaves no aftertaste. For how-to appliance guides covering specific models, manufacturer care pages are the most reliable reference.
9. How to deep clean your toaster and toaster oven
Crumbs mixed with cooking oil form rancid films that polymerize at high heat, creating sticky, odor-producing carbon deposits. Cleaning a toaster is not optional maintenance; it is a fire prevention task.
For toasters, unplug the unit and remove the crumb tray. Shake loose crumbs into the trash, then wash the tray with warm soapy water and dry it completely before replacing. Turn the toaster upside down over the sink and gently shake to dislodge any remaining crumbs. Wipe the exterior with a damp cloth. Never submerge the toaster body or get the heating elements wet.
For toaster ovens, remove the crumb tray, baking rack, and any removable panels. Wash them in warm soapy water. Wipe the interior walls with a baking soda paste, let it sit for 15 minutes, then wipe clean with a damp cloth. Use a soft brush to clear any debris from the heating element area without touching the elements directly. Wipe the exterior and glass door with a damp microfiber cloth. For a complete oven cleaning guide covering larger units, the same baking soda method scales up effectively.
10. How to clean and maintain appliance filters and vents
Filters and vents are where performance problems start. A clogged dryer vent is a fire hazard. A blocked refrigerator coil raises your energy bill. A dirty range hood filter recirculates grease vapor back into your kitchen air.
Refrigerator condenser coils: vacuum every six to twelve months with a crevice attachment and a flexible coil brush. Dusty coils force the compressor to run longer and hotter.
Dishwasher filter: remove and scrub monthly. Most modern dishwashers use a manual filter rather than a hard food disposer. Neglecting it is the fastest way to a smelly machine.
Range hood grease filter: clean monthly if you cook frequently, or at minimum every three months. A filter saturated with grease stops capturing airborne particles and becomes a fire risk itself.
Dryer lint screen: clear after every load. Every few months, scrub it with warm water and dish soap to remove the invisible residue left by dryer sheets, which restricts airflow even when the screen looks clean. The dryer vent pipe leading to the exterior requires a specialized brush kit to clear fully. A clogged vent traps hot, moist air, forces the heating element to run continuously, and is one of the leading causes of residential dryer fires.
Microwave vents and air filters: if your microwave is mounted above the range, it has a grease filter underneath. Remove it monthly and wash in hot soapy water or run it through the dishwasher if the manual permits.
Key Takeaways
Thorough appliance deep cleaning requires the right chemistry, complete disassembly, and full drying before reassembly to restore performance and prevent health hazards.
| Point | Details |
|---|---|
| Condenser coils matter | Cleaning dusty refrigerator coils can significantly reduce energy use, improving efficiency by up to 25%. |
| Glass shelf safety | Let glass shelves reach room temperature for 30 minutes before washing to prevent thermal shock. |
| Citric acid over vinegar | Use citric acid to descale kettles and coffee makers; boiling vinegar corrodes aluminum heating plates. |
| Dry before reassembly | Moisture trapped in gaskets causes mold growth and accelerates mechanical failure. |
| Follow manufacturer instructions | NSF International found that skipping appliance-specific cleaning guidelines allows pathogens to persist on food-contact surfaces. |
When the job feels bigger than a Saturday afternoon, Neatandtidypros handles professional deep cleaning for kitchens, appliances, and every room in the house. Whether you need a one-time reset or a recurring schedule, the team brings the right tools and techniques to get it done properly.