
Removing construction debris from indoor surfaces is a two-part job, and most homeowners only do one part. The first part is physical: hauling out chunks of drywall, lumber scraps, and broken tile. The second part is invisible: fine dust remediation targeting microscopic silica, gypsum, and wood particles that settle into vents, wall textures, and every horizontal surface in the house. Skipping the second part is why rooms still feel grimy weeks after the crew leaves.
Here is what a complete post-construction cleanup actually requires:
- Physical debris removal: Collect and haul all large waste, sorted by material type (wood, metal, drywall, masonry).
- Dust remediation: Use HEPA-filtered equipment to capture fine particulates from all surfaces, including hidden cavities.
- Safety gear: N95 masks or better, gloves, and eye protection before touching anything.
- Ventilation: Open windows and run exhaust fans to reduce airborne particle concentration while you work.
- HVAC attention: Seal or cover return vents during cleanup, then replace filters before restarting the system.
Table of Contents
- How to clean up construction mess indoors, step by step
- Best methods for indoor debris cleanup: tools and supplies you need
- Why professional post-construction cleaning is worth considering
- Neatandtidypros handles post-construction cleaning in Orange County
- Key Takeaways
- The part of post-construction cleaning most guides skip
How to clean up construction mess indoors, step by step
Industry standard practice from contractors is “broom-swept” completion. That means large debris is gone, but fine dust is entirely your responsibility. Follow this sequence to handle both.
-
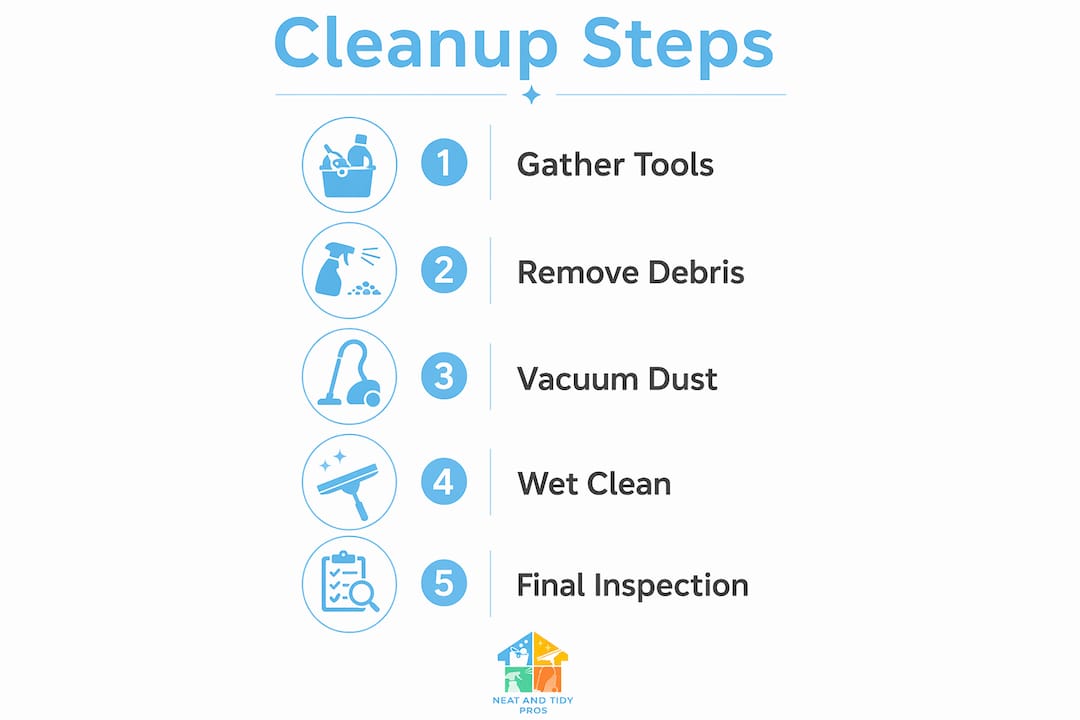
Wait 24–48 hours after construction ends. Microscopic dust particles stay airborne up to 48 hours. Clean too early and you will wipe the same surfaces twice as settled dust keeps falling.
-
Put on your safety gear. Gloves, an N95 mask or better, and eye protection are non-negotiable. Construction dust contains silica, which causes serious lung damage with repeated exposure.
-
Sort and remove large debris first. Separate wood, metal, drywall, and masonry into clearly labeled piles or bins before hauling. Mixed loads create safety hazards (nails buried in drywall dust) and complicate recycling. Check with Orange County Waste and Recycling for accepted materials at local transfer stations.
-
Work strictly top to bottom. Cleaning floors before ceilings forces you to redo the floors as dust falls. Start at ceiling corners and crown molding, move to walls, then fixtures, then baseboards, and finish with floors.
-
Dry-vacuum every surface with a HEPA vacuum. Standard vacuums blow fine particles back into the air through the exhaust. A HEPA-filtered shop vac or canister vacuum rated for fine dust is the only tool that actually captures silica and drywall powder. Use a soft brush attachment on ceilings and walls; switch to a crevice tool for window tracks and baseboards.
-
Follow with microfiber cloths and tack cloths. After vacuuming, wipe hard surfaces with dry microfiber cloths, changing sides every few swipes. Feather dusters and sponge mops push dust around rather than capturing it. Tack cloths work well for final wipe-downs on trim and cabinets.
-
Wet-clean floors and hard surfaces last. Use a microfiber mop with warm water only on tile and luxury vinyl plank. On hardwood, wring the mop until it is barely damp. Standing water warps wood and drives dust into plank gaps.
-
Address stubborn residues. Paint splatters respond to a plastic scraper used at a low angle, followed by a damp cloth. Adhesive residue typically lifts with a small amount of mineral spirits on a microfiber cloth; test on an inconspicuous area first. Never scrub aggressively on satin or eggshell paint finishes.
-
Clean and replace HVAC filters. Ignoring HVAC returns and filters redistributes dust through every room the moment the system runs. Remove vent covers, vacuum inside the duct opening with a crevice tool, and replace the filter with a MERV 8 or higher rated option before turning the system back on.
Pro Tip: Shine a flashlight at a low angle along baseboards, window tracks, and cabinet hinges before declaring a room finished. If you see a dust line, vacuum it immediately. This single check prevents waking up the next morning to surfaces that look untouched.
Best methods for indoor debris cleanup: tools and supplies you need
The right tools make the difference between one pass and three. The wrong ones, a feather duster, a sponge mop, a standard upright vacuum, actively spread construction dust rather than removing it.
Core supplies:
- HEPA shop vac or HEPA-rated canister vacuum (sealed system, confirmed in the manual)
- Large pack of microfiber cloths (plan on a dozen minimum; change sides frequently)
- Tack cloths for final wipe-downs on trim and cabinets
- Dry cellulose sponge for textured ceilings and brick walls
- Microfiber mop with a washable head
- N95 or P100 respirator, disposable gloves, safety glasses
- Step ladder and a flashlight for spotting hidden dust
Disposal tips: Drywall and gypsum go to licensed construction and demolition facilities, not curbside bins. Wood scraps are often accepted at local transfer stations or lumber recyclers. Metal goes to a scrap yard. Anything that looks old, friable, or chemically stained should be set aside for professional assessment before disposal.
| Surface | Recommended tool | Technique |
|---|---|---|
| Ceilings and crown molding | HEPA vacuum, soft brush attachment | Overlap passes carefully; work corner to corner |
| Walls (painted or finished) | HEPA vacuum, damp microfiber cloth | Top to bottom; change cloth side every 3 feet |
| Hardwood, tile, LVP floors | HEPA vacuum (bare-floor setting), microfiber mop | Vacuum twice in opposite directions; mop barely damp |
| Window tracks and sills | Crevice tool, tack cloth | Vacuum track first; wipe until tack cloth shows no powder |
| HVAC registers and vents | Crevice tool, screwdriver | Remove cover, vacuum duct opening, replace with MERV 8+ filter |
| Textured ceilings or brick | Dry cellulose sponge | Rub gently; tap sponge out over trash bag when clogged |
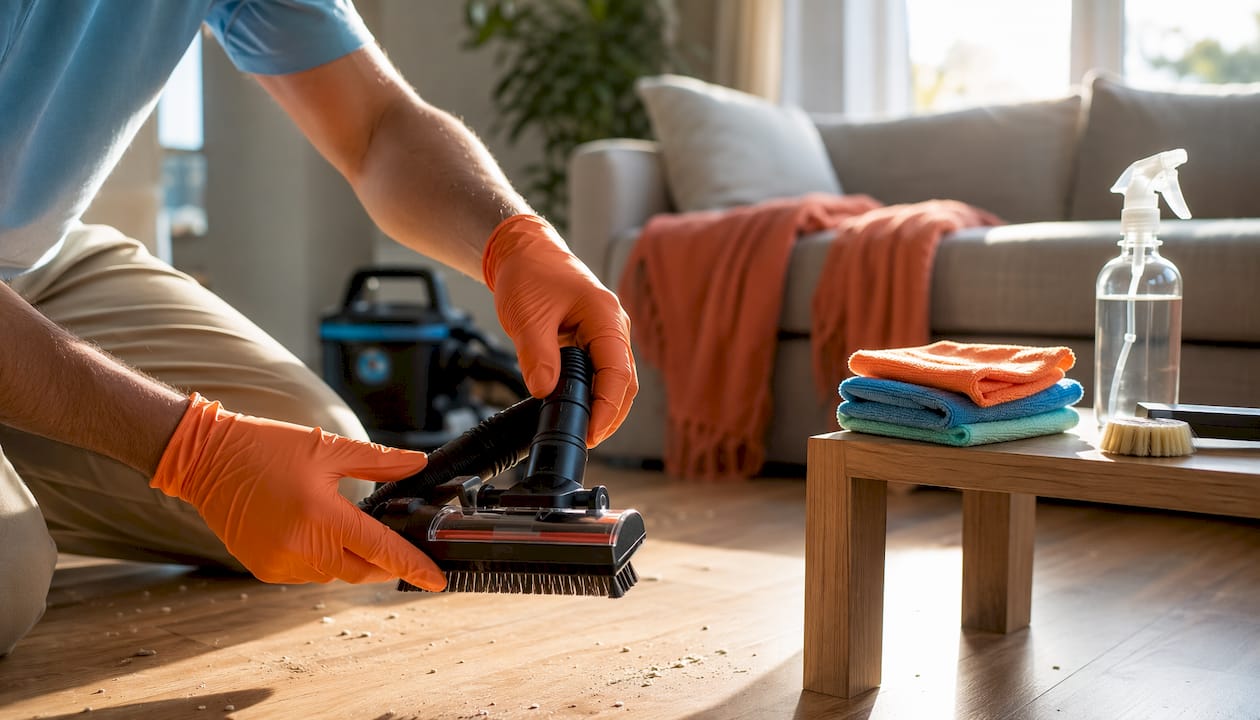
For carpets, vacuum slowly with a HEPA canister using the carpet brush attachment, making multiple passes in different directions. Sprinkle baking soda, let it sit for 30 minutes, then vacuum again. Do not steam clean until all visible dust is gone. Moisture sets dust deeper into fibers and creates a residue that is nearly impossible to extract fully. You can find a deeper breakdown of professional cleaning tools and their specific applications for post-construction work if you want to go further.
For commercial properties preparing for inspection, the same top-to-bottom sequence applies, and pre-inspection exterior cleaning often runs parallel to interior work on larger jobs.
Why professional post-construction cleaning is worth considering
DIY cleanup works well when the debris is non-hazardous, the dust load is light, and you have the time and equipment. When any of those conditions are missing, the results tend to disappoint.
The core problem is that professional services deploy industrial-grade air scrubbers with HEPA filtration that actively pull airborne particles out of the room while cleaning proceeds. That is not something a homeowner can replicate with a shop vac. Air scrubbers accelerate clearance of suspended dust, which means surfaces stay clean after wiping rather than recontaminating within hours.
Key benefits of hiring a professional post-construction cleaning service:
- Comprehensive dust remediation: Professionals address embedded dust in porous materials, HVAC systems, and hidden cavities that DIY efforts routinely miss.
- Correct equipment: Industrial HEPA vacuums, air scrubbers, and surface-specific tools that do not damage finishes.
- Time savings: A crew completes in hours what takes a homeowner a full weekend, often with better results.
- Compliance: Professional cleaners understand local Orange County standards and can confirm the space is safe for occupancy.
- Satisfaction guarantee: Reputable services stand behind their work, which a DIY effort cannot offer.
If after two full rounds of dry vacuuming and one round of wet cleaning you still see a visible haze or feel grit on any surface, that is the signal to stop and call a professional. Continuing to wipe pushes dust deeper into porous materials and can damage surface finishes. You can also review what a residential deep clean in Orange County typically covers to understand the scope of what professionals address.
Neatandtidypros handles post-construction cleaning in Orange County
Post-construction cleanup in Orange County is exactly what Neatandtidypros was built for. While a standard cleaning service wipes visible surfaces, Neatandtidypros brings the full picture: physical debris coordination, HEPA-level dust remediation, HVAC vent cleaning, and surface-specific treatment for wood, tile, carpet, and glass. The result is a home that is genuinely clean, not just visually tidier.

Property managers dealing with tenant turnover after renovation and homeowners who just finished a remodel get a single, thorough visit that covers every room. Neatandtidypros’s post-construction cleaning service is designed around the two-part process this article describes: haul-away coordination plus dust remediation, not just one or the other. For a full picture of what the service covers, visit the residential cleaning guide for California or go directly to the services page to request a tailored quote for your property.
Key Takeaways
Separating physical debris removal from fine dust remediation, then following a strict top-to-bottom sequence with HEPA equipment, is the only reliable way to achieve a truly clean indoor environment after construction.
| Point | Details |
|---|---|
| Two-part process | Physical debris removal and fine dust remediation are separate tasks; skipping either one leaves the job incomplete. |
| Wait before cleaning | Dust stays airborne up to 48 hours after construction; cleaning too early means repeating the work. |
| HEPA equipment only | Standard vacuums blow fine particles back into the air; only HEPA-rated vacuums and air scrubbers capture silica and drywall dust. |
| HVAC is the hidden risk | Uncleaned HVAC filters and ducts redistribute construction dust room to room every time the system runs; replace with MERV 8+ filters. |
| Neatandtidypros | Provides full post-construction cleaning in Orange County, covering debris coordination, dust remediation, and HVAC vent cleaning in one visit. |
The part of post-construction cleaning most guides skip
The conventional advice on post-construction cleanup focuses almost entirely on what you can see: sweep the floors, wipe the counters, vacuum the carpet. That is the easy part. The part that actually determines whether your home feels clean a week later is what happens inside your HVAC system and inside the porous materials you cannot reach with a cloth.
Drywall dust is fine enough to travel well beyond the work zone. Once the system runs, return vents pull suspended particles into ductwork and redistribute them room to room. Homeowners who do a thorough surface clean but skip the HVAC step often assume the cleaning failed. It did not fail. The system undid it overnight.
The other underestimated factor is timing. Cleaning too early, before dust has fully settled, means you are wiping surfaces that will look dusty again in two hours. Cleaning too late, after dust has embedded into unsealed grout or raw wood, means no amount of surface wiping will fix it. The 24–48 hour window is not arbitrary. It is the practical gap between “still airborne” and “permanently embedded.”
The honest takeaway: for a light renovation in one room, a careful DIY approach with the right tools works. For a full remodel, a gut renovation, or any project that ran the HVAC during construction, professional equipment is not a luxury. It is the only way to break the cycle.